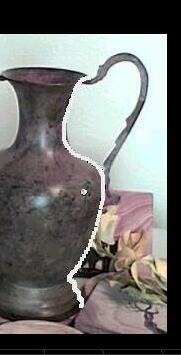
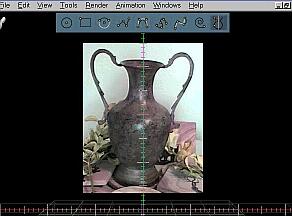
A beautiful Rustic
Vase
by Philip Staiger, Jan 1999
I saw this beautiful vase
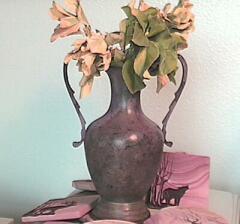
the other day, and said to myself - let's model this (or something
similar)
in Amapi
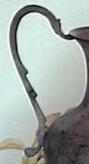
I took the flowers out
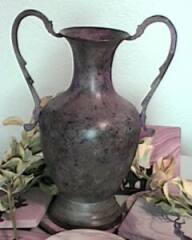
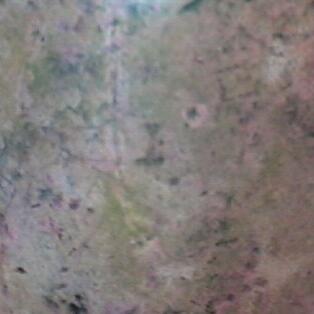
and took some closeups of the handle's shape and the texture. I used
my video camera (not even a Hi-8, just your average VHS or Video-8
camera
will do), along with a capture device from Play, the Snappy.
I also used a great image viewer called Irfanview32 from Skiljan Irfan,
which allows access to Snappy too.
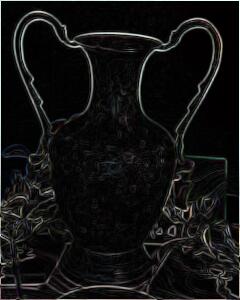
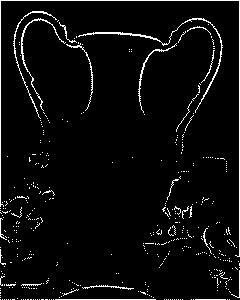
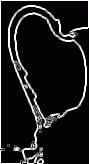
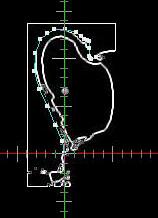
Before I start with Amapi I want to convert the handle's shape into
outlines. Irfanview has various tools like edge detection, embossing,
color
reduction,... all of which can be useful to that effect.
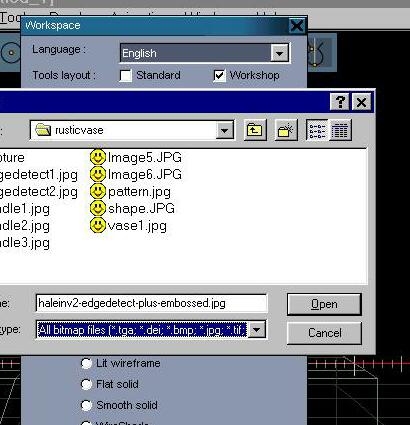
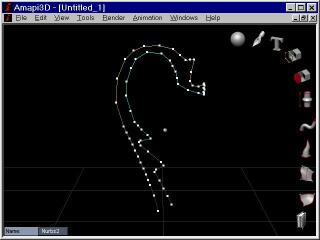
I then start Amapi, and and went to the Workspace Preferences

and loaded the desired image into the background.
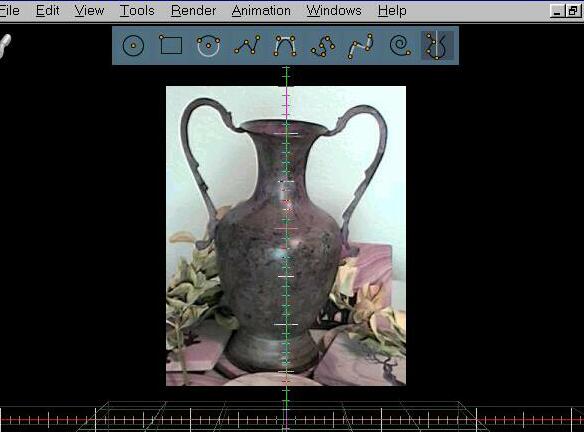
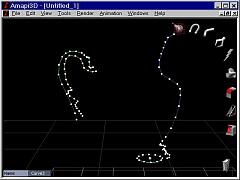
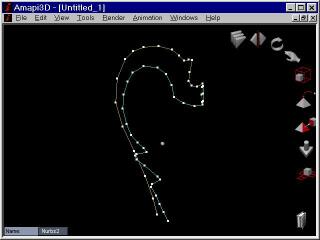
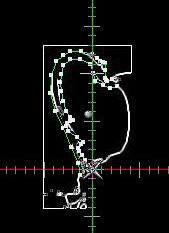
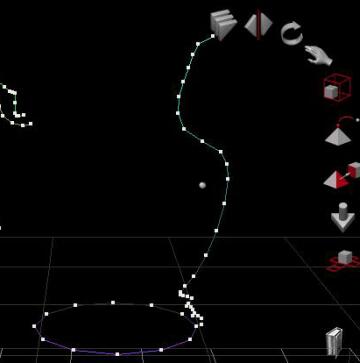
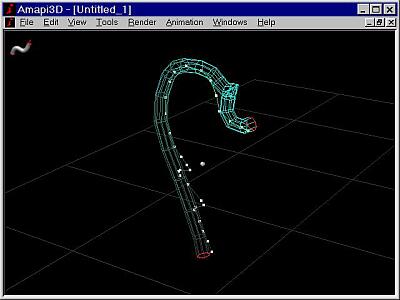
I then went to the DRAW tool in the construction toolkit,
I selected the interpolated Curve tool from the 2D Draw palette
and proceeded with clicking a few points along the shape (profile)
of
the vase on the right side.
When I was done with it I hit ENTER/RETURN or validate in the
Assistant
palette.
There was a 'X' mark at the end of the polyline, which indicated I
could continue drawing mode segments for this complex shape if I wanted
to. However, I was done, so I validated again (or use the SPACEBAR to
toggle
off the continuation indicator).

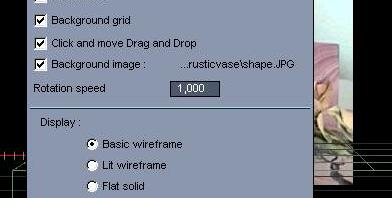
I then left the toolkit and reopened the workspace preferences to
change
the background image. First you click the check box off, then you click
it again to re-enable and enter a new filename.

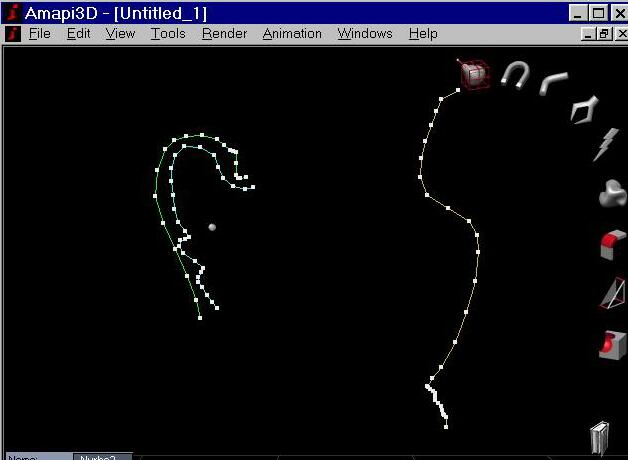
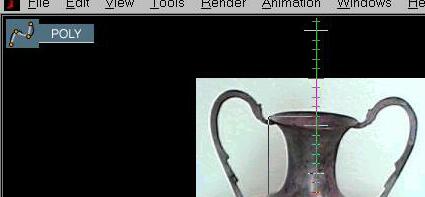
This time I entered one of the images showing a closeup on the
handle,
with edges detected.
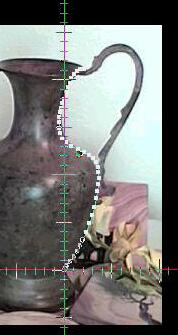
And because the profile curve was in the way I just click/drag/drop
it to the right side.
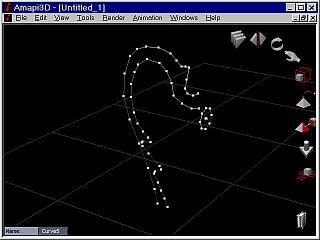
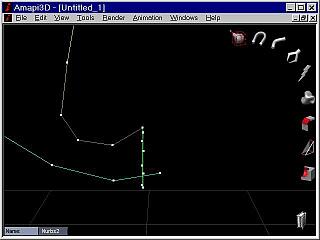
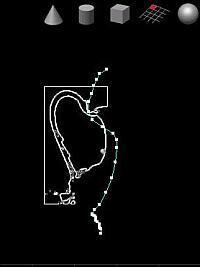
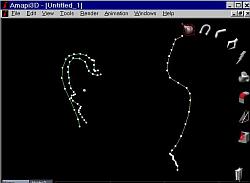
I then return to the DRAW toolkit in the construction toolkit,
position
the temporary coordinate axes anywhere (e.g. on existing profile curve
at right) and select one of the polyline tools again (e.g. interpolated
Curve). And click along the inner or outer profile of the handle's
shape.
I then repeated this for the other (inner) profile.
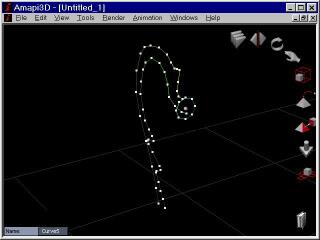
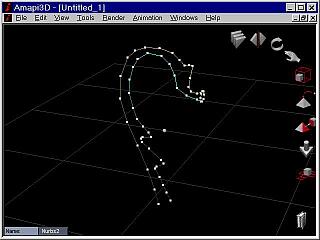
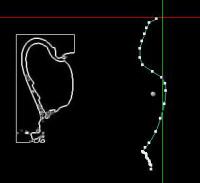
I then left the Draw toolkit and hit zero (0) to zoom to the extent
of my current scene.
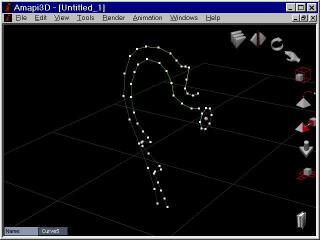
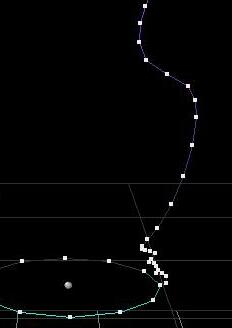
Some cleanup is needed, so I zoom in to the selected curve and use
the
STRETCH tool to pick individual points and rearrange them.
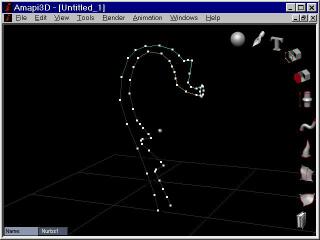
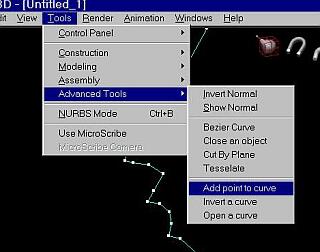
In some cases I felt it was needed to add a few more points
somewhere
along the polyline. I used the "Tesselate" tool for that (from the
Tools/Advanced
Tools menu - or from a shortcut assigned to the keyboard key 'T' with
Amapi's
shortcut editor (Edit/Shortcuts - or CTRL-D). There are other tools,
such
as "Add point to curve" which can be used too in some cases, e.g.
depending
on where the point needs to be inserted. I just like the Tesselate tool
because you can insert new points (or facets in surfaces) anywhere, and
just validate or swipe the tool away. If you hit ENTER it applies the
tesselation
to the entire object. Also, use the SPACEBAR to choose between
triangular
or quadrilateral tesselation on surfaces.
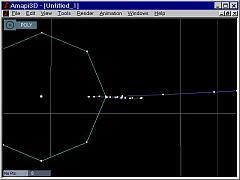
I then select the TOP view (numeric '5') and select a Circle from
the
DRAW toolkit, positioned at the lowest point of the vase's profile
curve.
I then select the profile curve
then the Snap tool from the assembly toolkit

and select the lowest point on the profile, then I click on the
rightmost
point on the circle.
This moves the profile to reposition it so that the end point of it
is shared with the point on the circle
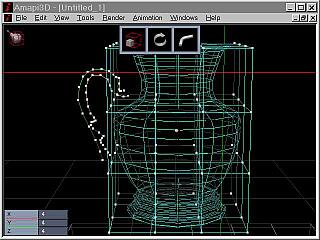
I can now use the Extrusion tool (just before the Sweep tool) from
the
construction toolkit, but be sure to click the circle first (to make
sure
it's the currently selected curve), then the Extrusion tool, then the
profile,
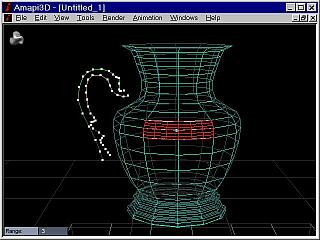
and Amapi builds a mesh. This is equivalent to a lathing but the lathe
is in a vertical orientation in this example. The mesh is still fairly
coarse.
I then go to the modeling toolkit and apply the SMOOTH tool
I then do a Render Now (Render menu or just hit RETURN key).
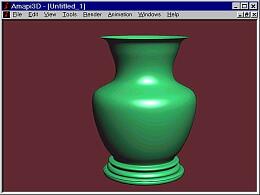
This vase is too fat, wider than the original. I use the Meta
NURBS tool from the Modeling toolkit to tweak it and mold it...
|
tweak tweak...
mold mold ...
|
I then proceed doing similar stretching of points and adding points
where needed along the inner and out profiles of the handle
I tweak and fine tune the shapes and profiles, adding points here
and
there
and when I'm done I add a circle which will be the section. I use
the
double-sweep tool, selecting the section first, then the doublesweep
tool,
then both profiles. There are a few results I don't like, I cycle
through
them with the SPACEBAR.
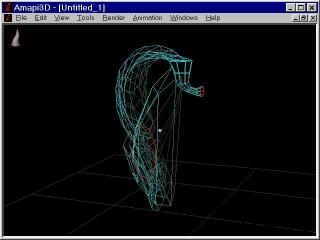
One has the right orientation of the section against the two paths.
Also, I may need to further fine tune the sizes, using the Meta
Nurbs
tool on the swept handle (take a side view (4) and increase the
number
of control points (+/-) to gain control of sub portions on the handle.
Throw a lasso on these portions and resize them at will.)
Finally, I assemble all pieces, mirror the handle to the other sie,
apply material properties, and make a few renderings and an AVI movie.
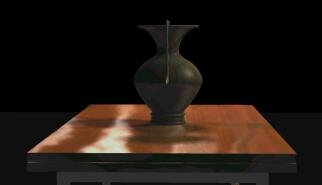
Click this rendered image to load and view the AVI movie (449
kbytes)
the end